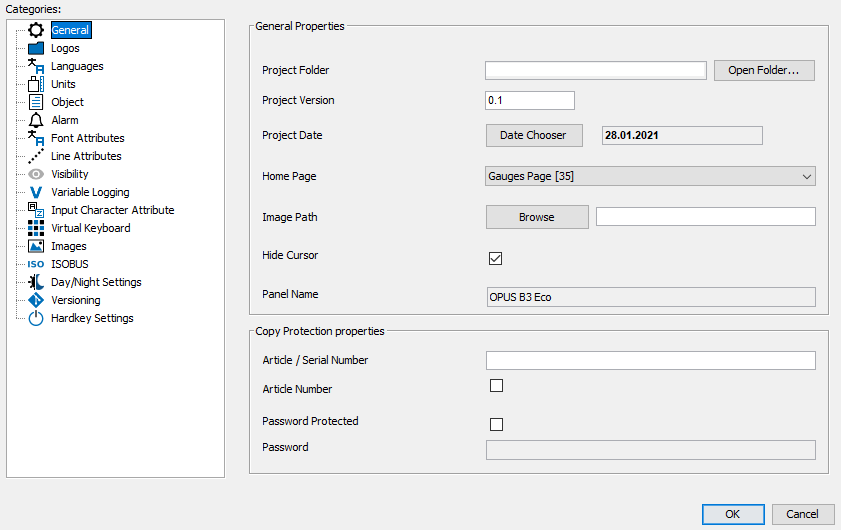
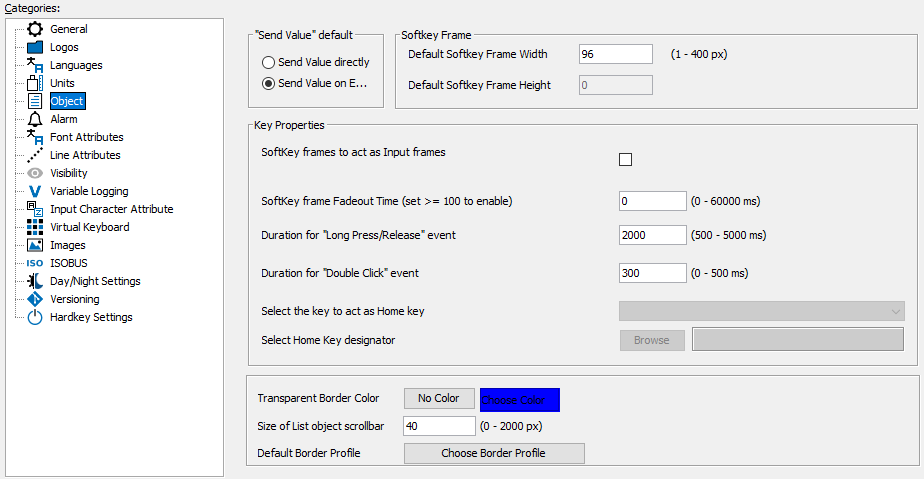
This chapter describes the various properties of a project.
The project properties can be opened in two ways:
•Using the Properties entry of the right click context menu of the project node in the Projects tree window.
•Using the Project Properties entry in the File menu.
Please note that not all properties are available at all times. Only the properties available for the device in the currently selected project are shown.
|
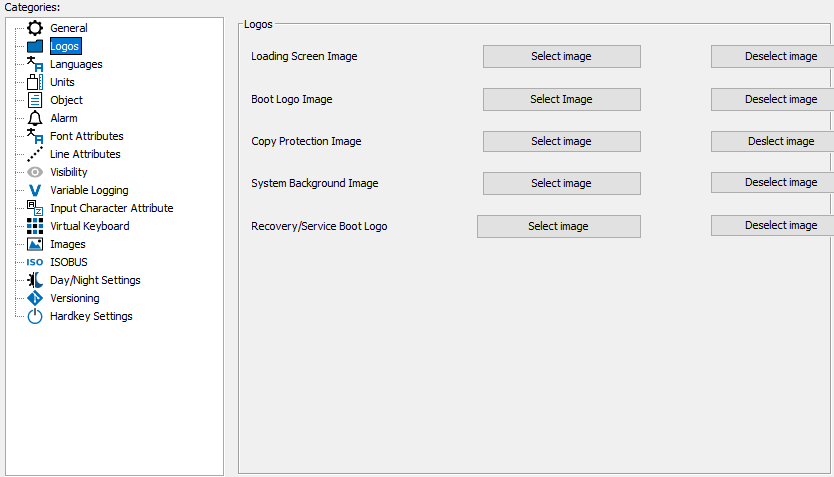
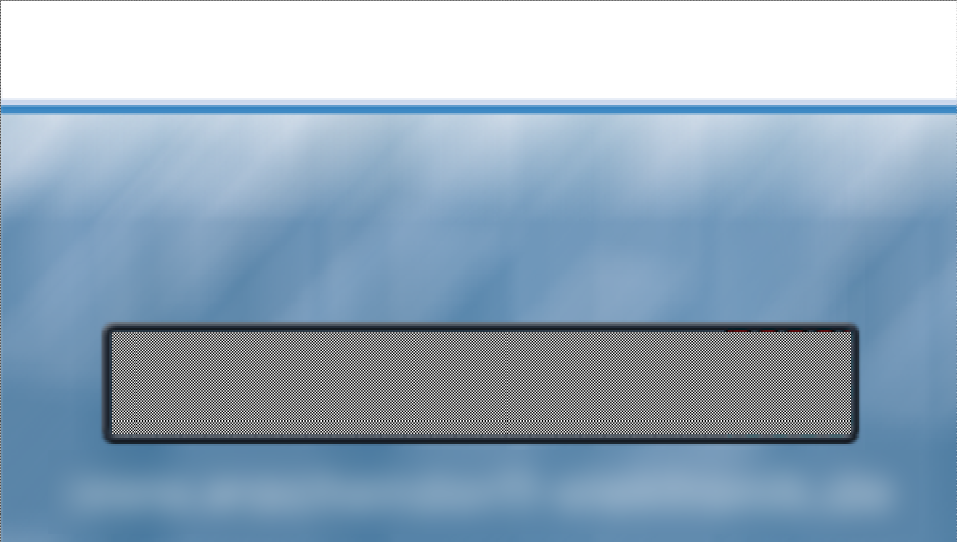
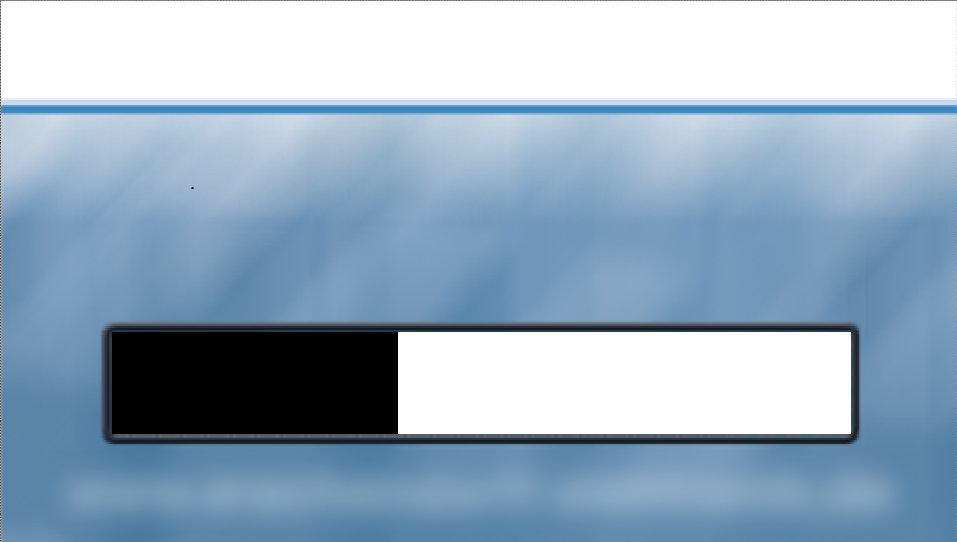
The loading screen image is an image that will be displayed while the project is being loaded on the terminal. Showing a progress bar is possible. The loading screen image should have the same resolution as the target device display and must be an image in PNG file format. When selecting an image, the image will be renamed to 'loading_screen.png' and placed in the terminal_files/additional_files directory in the project folder.
|
The selected image will be directly displayed after the cold start of the display after the project is installed. By pressing on "Deselect logo", the image will be removed. Note that the deselected boot logo will not be removed from the device upon the next installation of the project. |
The selected image will be displayed while the PClient starts and while the PClient shuts down. By pressing on "Deselect image", the image will be removed. Note that the deselected image will not be removed from the device upon the next installation of the |
The selected image will be directly displayed after the cold start of the display in service mode after the project is installed. By pressing on "Deselect logo", the image will be removed. Note that the deselected boot logo will not be removed from the device upon the next installation of the project. |
The project icon will be used on the applications running on the target device e.g. sunrise or for PClient- and variables simulation applications running on windows operating system. By pressing on "Deselect icon", the selected image will be removed. |
The Languages chapter describes these properties. |
The Units chapter describes these properties. |
The Alarms chapter describes these properties. |
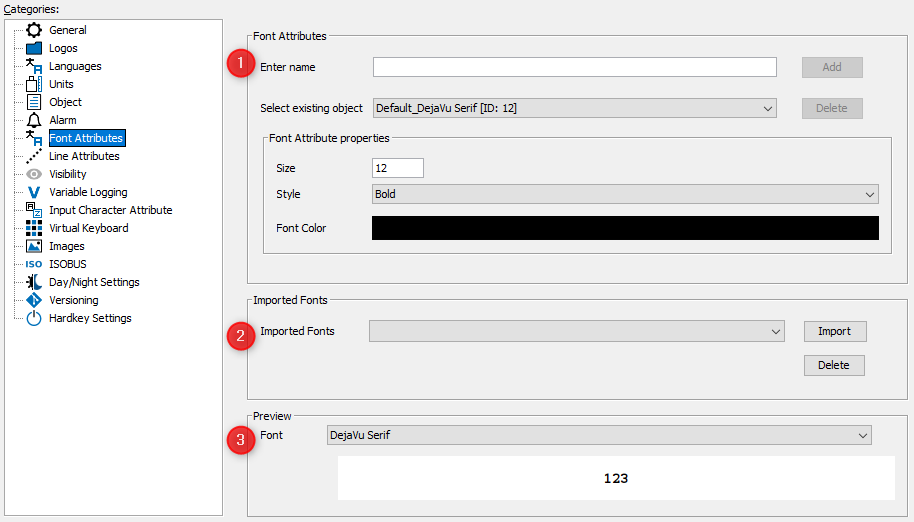
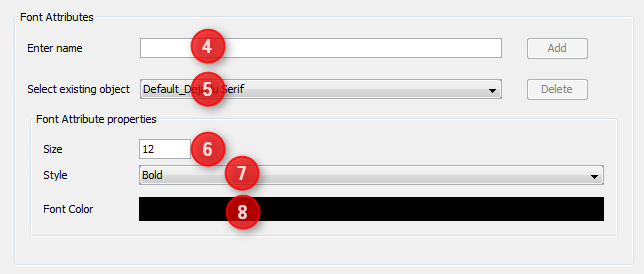
Using different font styles in a project is different than in common text writing applications. Each Font Attribute is a combination of font size, font style (italic and / or bold) and font color. Only the combinations you have created as Font Attributes are available when creating your project pages. When designing your project pages you can use all the font attributes you have defined and combine them with the available fonts. Whenever you need a new combination of size, style and color, you need to create a new Font Attribute. This allows you to quickly change e.g. the size of the text for all String Fields that use the same Font Attribute.
|
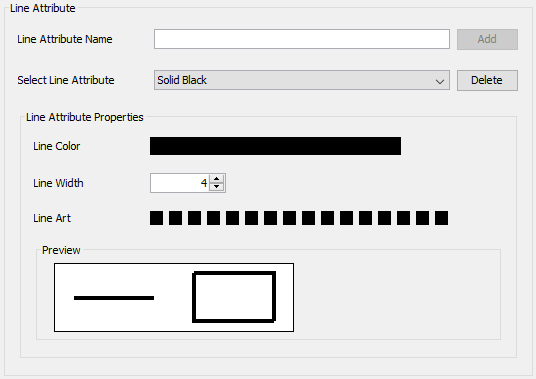
To create a new line attribute, enter a name in the Line Attribute Name field and press Add. A line attribute consists of: - a color - click on the color bar and select a color - a width - enter a width or change the value with the up/down buttons. Line widths between 1 and 255 pixels are allowed. - a "Line Art", i.e. a dash pattern - click on the squares to change the dash pattern There is a preview field showing the result of the settings made. |
The Visibility chapter describes these properties. |
The Variable Logging chapter describes these properties. |
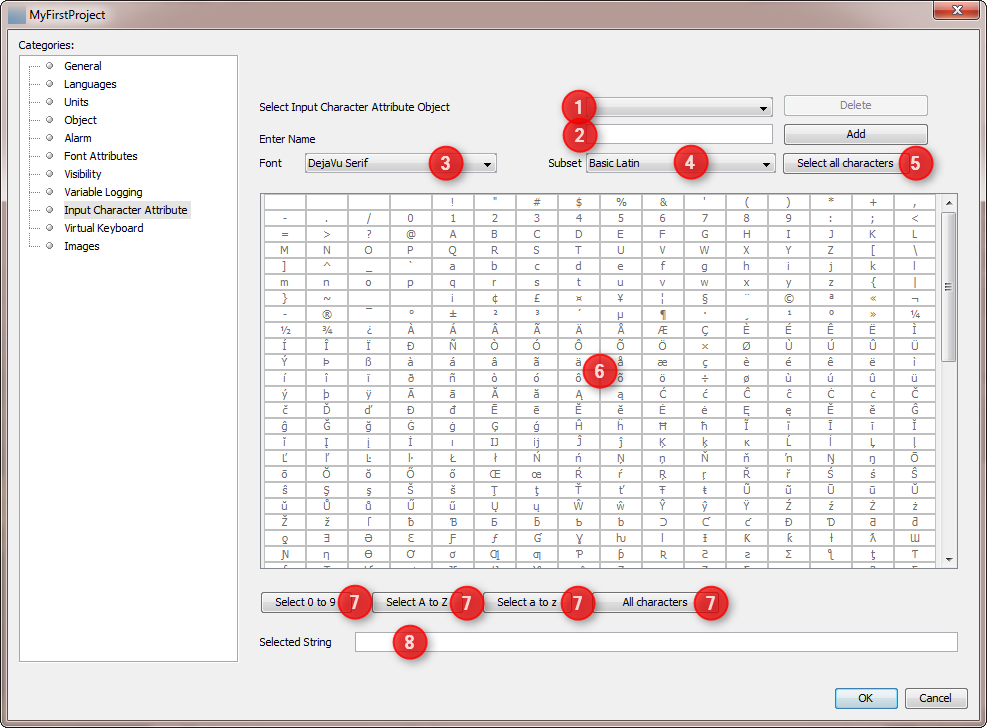
When you offer the user the possibility to enter values with the encoder, you most likely want to restrict the characters he is able to use. Example: When your project asks the user to enter his name, you might want to prohibit the possibility to enter special characters like !?_ and so on. This is what the Input character Attribute Properties are used for. You can store a selection of allowed characters as an Input Character Attribute. While creating your project, you can assign these Input Character Attributes to string objects.
To delete an existing Input Character Attribute choose the one to delete (1) and click Delete button. To create a new Input Character Attribute enter a name for the new attribute and click Add button. The name is used in the editor while creating project pages to make a string object use the Input Character Attribute. To change the characters available for an Input Character Attribute choose the attribute to change (1). Then you can choose any of the fonts defined in the tool (3). Now you can start selecting characters by clicking them in the table (6). The table shows the characters in Unicode (UTF-8 encoding form) code pages. For faster selection of code pages, you can select the subset (4) (it contains a list of character blocks) and click Select all characters button. Using the same procedure, you can also unselect code pages by clicking the Select all characters button again. Furthermore there are buttons available for fast selection of typical character ranges (7). They can also be used to unselect characters by pressing the buttons again. The selected characters are further shown in the bottom of the window (8). Note: For a complete listing of the normative character blocks in the Unicode Standard, see here. |
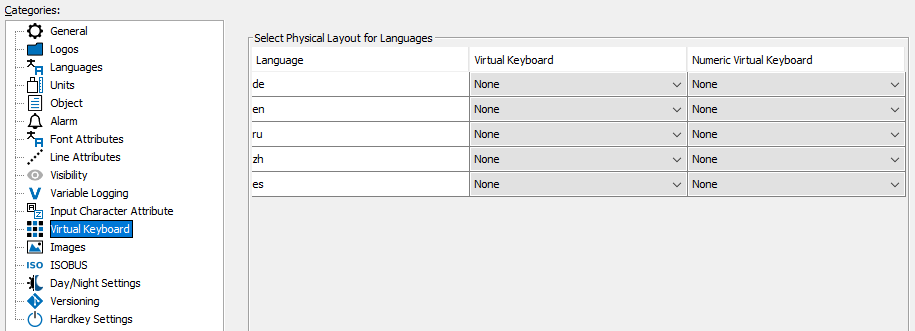
When your project uses virtual keyboards for entering values you should configure, which virtual keyboards have to be used for which language. Because the character set used by languages are very different, you most likely need to create one virtual keyboard per language used in your project.
First you need to create the virtual keyboards. Then open the virtual Keyboard section of the project properties and select the virtual keyboards that have to be used for each language. |
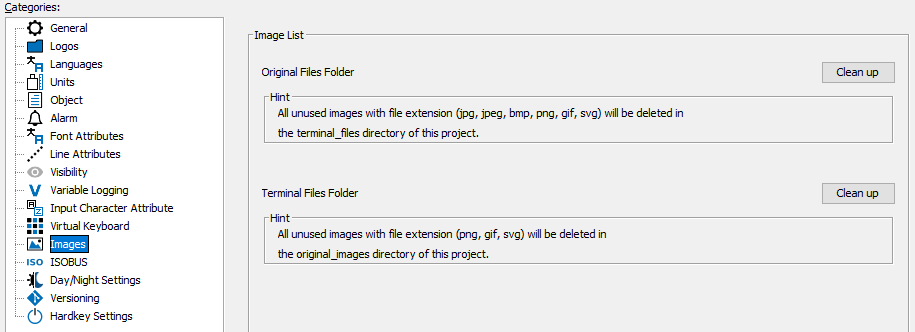
Here it is possible to clean up the folders "original_images" and "terminal_files" to delete unused images. 1. If an image is added to a project the original image will be added to "original_files" folder. Additionally the scaled or modified image is added to "terminal_files" folder. When the project is updated (objects are deleted) it could be that images will be removed from "terminal_files" folder and the original image is not used anymore. In this case it could be helpful to delete unused original images. 2. Normally the "terminal_files" folder is automatically cleaned up. But if images have been manually copied to this folder, the user has the possibility to remove them. NOTE: Please never manually copy images to "terminal_files" folder. This folder is completely maintained by the application. If you do anyway please be aware that the files will not be used by the application and disk space is lost on the target device when project is downloaded. HINT: Original Files: On clicking "Clean up" (1) all unused images with file extension (jpg, jpeg, bmp, png, gif, svg) will be deleted in "original_images" folder. Terminal Files: On clicking "Clean up" (2) all unused images with file extension (png, gif, svg) will be deleted. For more information about "Image Handling" please refer to the Image Handling Chapter. |
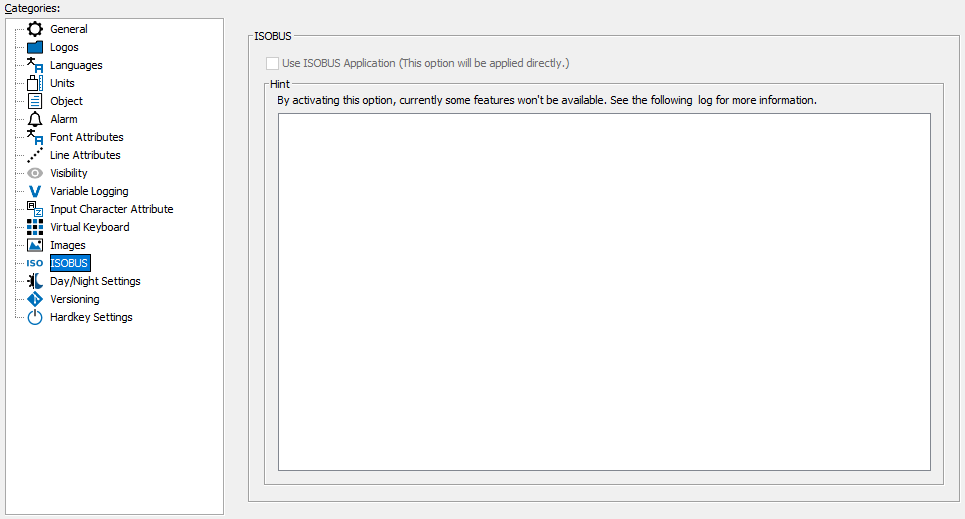
For OPUS A6G2, OPUS A8, OPUS B3, X18 and X40, ISOBUS projects can be created, see here. The ISOBUS functionality can be viewed in this category. The media player and variables that are not available for ISOBUS devices will be deactivated when an existing project is converted to an ISOBUS project. |
 Day/Night Settings
The Day/Night chapter describes these settings. |
 Versioning
The Project Versioning chapter describes these settings. |
 Hardkey settings
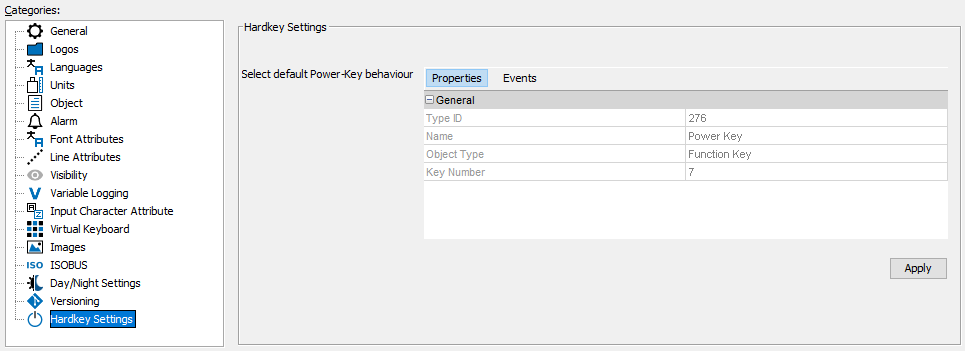
For devices with a power button, the project-wide behavior of that button can be defined. This behavior can be overridden by a per-page setting on each page. On each page the same events can be configured specifically for that page. Please note that if ANY event is configured for a specific page, NO action from the project properties will be executed while on that page, i.e. if you want a specific action OnPress but the general action OnRelease, you need to put that action into the page event configuration for the Power Key, as well. On pages that have no event configured, the actions from the project properties will be executed. |
