![]() Tutorial video of the Image Library
Tutorial video of the Image Library
The image library can be used to quickly access images from folders, skipping the step to manually load images one by one with Picture Graphic objects.
The image library can be accessed in the toolbar on the right side (in the default view).
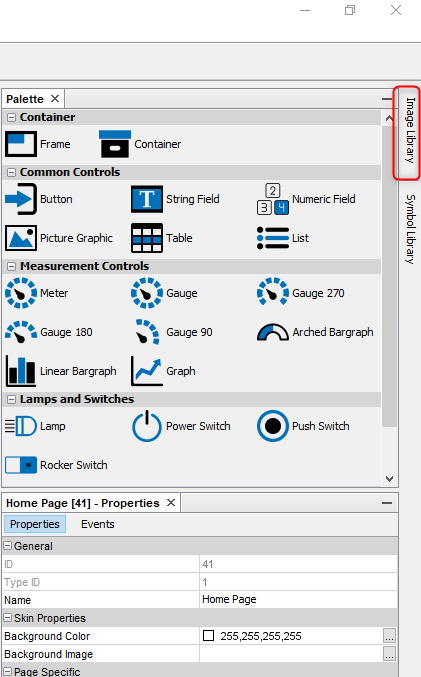
Click on the name to open the tab.
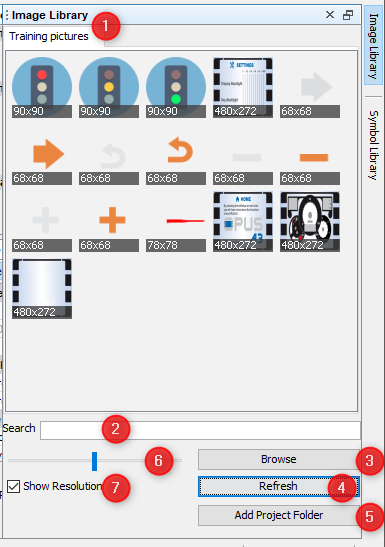
In the image above a folder named Training pictures was loaded. Several image folders can be loaded, they will be shown in tabs (1). Please note that when adding many ordners with many images (especially high-res), showing the image library for the first time will take a while to cache the preview images.
Each image will be shown in a small squared symbol.
The opened image folders can be searched (2). The search will filter live, searching for the entered term in the file name of all images in all opened image folder tabs.
Found images will be shown in an automatically created Search tab.
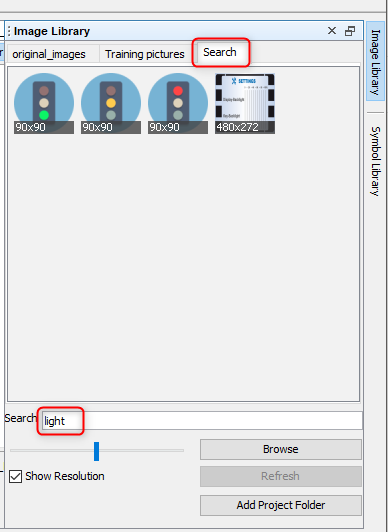
Note that the Search tab can't be closed directly. To close the Search tab, remove the search word from the Search field
A new folder can be added with the Browse button (3). Browse to a folder that contains images and confirm by clicking Open.
Note that folders aren't added recursively, i.e. only images directly in the selected folder will be added.
If the images in the currently selected folders have changed or new ones have been added, press the Refresh button (4) to refresh the preview.
To quickly add the original images folder of the currently selected project, click the Add Project Folder button (5).
Note that all opened folders will be visible no matter which project is selected in the program.
With the zoom slider (6) the size of the preview images can be modified. Dragging it to the left means more, but smaller preview images, dragging it to the right means fewer, but larger preview images.
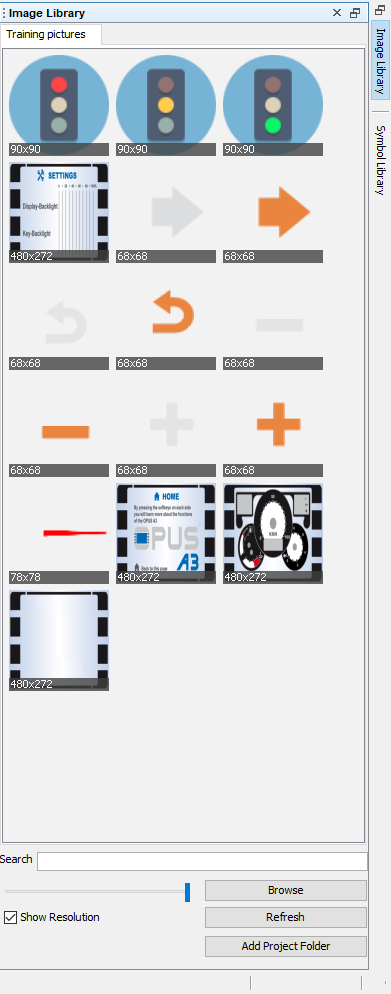
Uncheck the Show Resolution checkbox (7) to remove the resolution bar under the preview images.
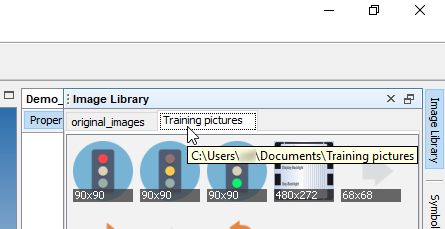
The complete folder path will be shown as a a tip when hovering on the folder tab.
Hovering over the images will show the file name of the image.
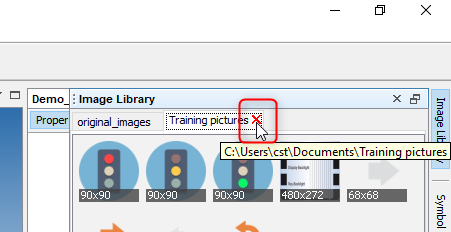
Folder tabs can be closed by pressing the X icon next to the folder name in the tab, except for Favourites and Search tab.
Alternatively, with a right-click on one of the tabs, a context menu with the following options opens
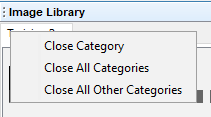
Close Category - closes the tab that was right-clicked on
Close All Categories - closes all tabs
Close All Other Categories - closes all tabs but the one that was right-clicked on
Note that the Favourites and Search Tabs cannot be closed that way. The Search tab closes when the search field is emptied, the Favourites tab is removed when no images are selected as favourites.
Images can be dragged and dropped on objects in the Page Editor or in the project tree. See Drag and Drop for details.
The preview image symbols provide a context menu which can be accessed with a right-click.
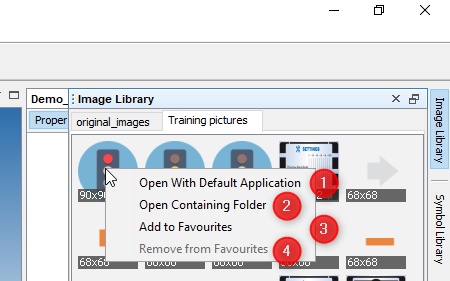
Open With Default Application (1) will open the current image with the application that is set as default in the PC operating system.
Open Containing Folder (2) will open the OS file manager with the current image folder.
Add to Favourites (3) will create a new tab called Favourites, where images can be collected that are used often.
Note that the images are not copied, there is no actual Favourites folder on the file system, the images are linked and only exist in their respective image folders.
To remove an image from the Favourites tab, right-click and select Remove from Favourites (4). This entry is only available in the Favourites tab.
The images in the Favourites tab and the opened folder tabs will still be available after closing and re-opening the program.
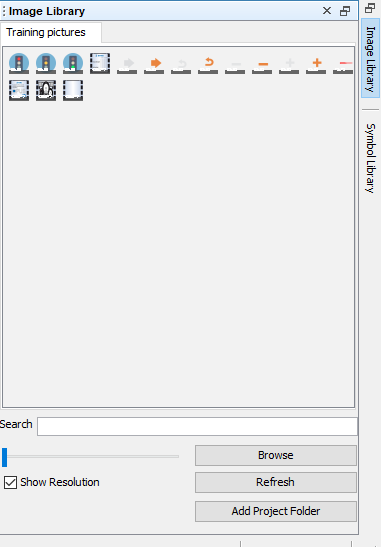
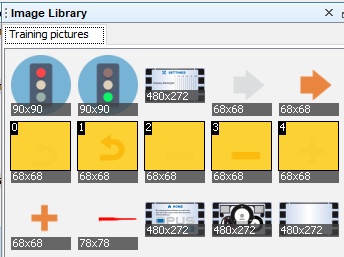
It is possible to select several images at once, to create a list with them. To do this, press the CTRL key and click on the images you want to put in the list.
The images will be marked with a yellow overlay. They also get a number which represents the order in which they will be put into the list.
This order can be changed by scrolling the mouse wheel while hovering over one of the selected images with CRTL key being pressed.
This multi selection can also be used to select several images as favourites or to quickly empty (and thus close) the favourites tab.