This chapter describes how images are handled by the tool.
Thereby two definitions are very important to understand the Image Handling:
•Original Image
•Scaled Image
"Original Image" means the image which is added to the project via "Image chooser" dialog or Image Library. This image will be copied to "original_images" folder and will never be modified by the tool.
"Scaled Image" means the image which is created from "Original Image" with e.g. modified height and witdh. This image is saved in "terminal_files" folder.
Overview
For the Image Handling there is a separat file "image_list.xml" which stores all informations about the images in a project. The file is saved in the project folder.
During working on the project the Tool creates an temporary file called "image_list.tmp" which saves all image changes in the project. When project is saved the "image_list.tmp" file is saved to "image_list.xml" and the temporary file will be deleted.
All original and scaled image infomrations are stored in these file. Each image name is stored with the according MD5 checksum. The MD5 checksum is used to recognize if there are duplicate images. Additionally the "image_list.xml" file stores the assignment between image property and Object.
Purpose
The Image Handling shall help to avoid duplicate images in the project. The device has restricted resources and they should not be wasted with duplicate images.
This helps to keep the performance on the device (by loading the project) and save restricted disk space.
Image Naming
This chapter shall describe how the naming of images works in the Tool.
Original Image Naming
If an image is added to an Object, the image is added to "orginal_images" folder. The name of the original image is normally not modfied except of 2 cases.
Case 1: The folder "original_images" contains already a file with same name, but different content.
The new image is added to "original_images" with an extension.
Example:
Original_images folder contains an image with name "test.png".
A new image is added with same name but different content. The new image will be renamed to "test_1.png".
Case 2: The folder "original_images" contains an image with same content, but different name.
The new image is NOT copied to "original_files" folder, because there is already an image with same content. For the scaled image the name of the already existing image will be used.
Example:
Original_images folder contains an image with name "test.png".
A new image with name "myImage.png" is added with same content. The image "myImage.png" is NOT added to "original_images" folder.
Scaled Image Naming
The scaled image contains the name of the original image with the extension of "Width" and "Height" and optional "Color of Transparency".
Example:
Original Image Name: test.png
Scaled Image Name: test_100_80.png (without transparency color)
Scaled Image Name: test_100_80_0xffffffff.png (with transparency color "white")
NOTE:
1. For original image files with extension JPG/JPEG and BMP the scaled images will be converted to PNG.
Example:
Original Image Name: test.jpg
Scaled Image Name: test_100_80.png (without transparency color)
Scaled Image Name: test_100_80_0xffffffff.png (with transparency color(argb) "white")
2. For original images files with extension GIF or SVG the SAME image will be used for original and scaled images. For these image formats the "Transparency Color" is NOT available.
Example:
Original Image Name: test.svg
Scaled Image Name: test.svg
ATTENTION:
The name of the images will be modified only when project is saved. That means if an image (test.png) is assigned to an Picture Graphic Object with Width = 100 and Height = 80 the Scaled Image Name is "test_100_80.png".
The name is immediately updated. BUT if now the size of the Picture Graphic is updated. e.g. to Width = 60 and Height = 40 the image name will not be updated to "test_60_40.png" until project is saved.
Adding an Image Example
(1) After Dragging and dropping the object on the canvas,
click on Image Chooser Button to configure a new image.
![]()
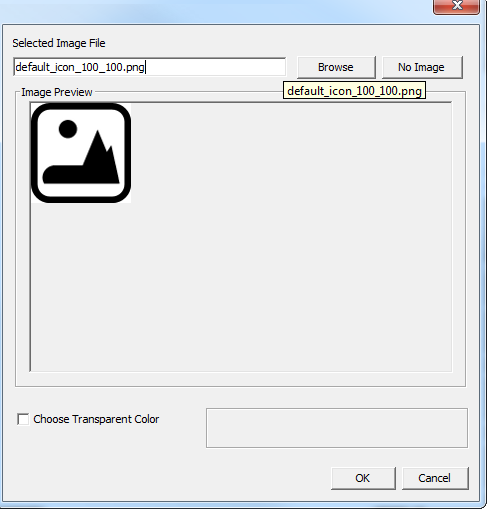
(2) The Image Chooser dialog is open with the currently configured image.

(3) Click on "Browse" to select a new image.

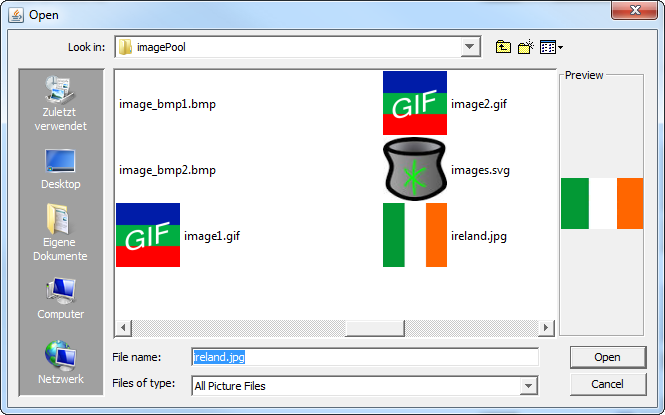
(4) Select a new image
(5) Click on "Open" to add new image.
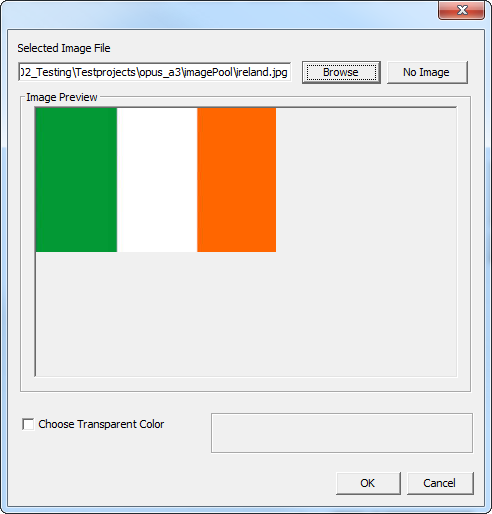
(6) Original Image name with path of new image
(7) Preview of new Image

(8) Click on "Ok" to set new image.
![]()
(9) New image is shown in Designer for "Picture Graphic" object.
(10) The property "Image To Display" shows the name of new created scaled image "ireland_240_144.png"
(11) When property "Height" and "Width" are changed, a new scaled image is created with new name "ireland_100_100.png".
NOTE: The image name of property "Image To Display" is not changed until "Save" is performed.
Now, if a new Picture Graphic object is created with same "Height" and "Width" and the same original image is assigned again, the Image Handling recognizes that the scaled image is already used and doesn't create it again. The already existing scaled image is also used for the new Picture Graphic object.
Conversion of Old Projects ( <1.9.x)
If the tool Version > 1.9.x is used and a project with a lower version (< 1.9.x) is opened the project is automatically converted for new Image Handling.
After the conversion of the project, all scaled images will be recreated and renamed. This step is necessary to avoid duplicate images.
For recreating the scaled images the original images must be available. By missing of the original images, the old scaled images are used but they will be renamed in any cases to new format according rules described in Image Naming Chapter.
Note:
If it is not desired that the scaled images are recreated, you can delete all images in the "original_images" folder before converting the project. Then all old scaled images are not recreated.
For performance reason, this step it is not recommended!