This chapter describes how a project can be converted between different devices.
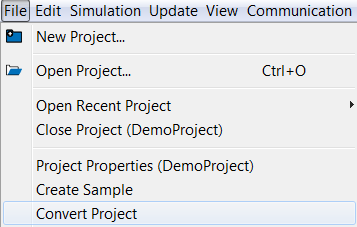
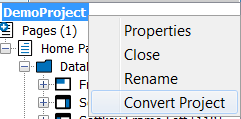
The dialog can be opened via the menu File -> Convert Project or by right-clicking the project name and choosing Convert Project in the context menu.
Please note that for both actions you need to have a project marked in the project tree.
Please note that you should save the project before the conversion to include all changes.
Step 1
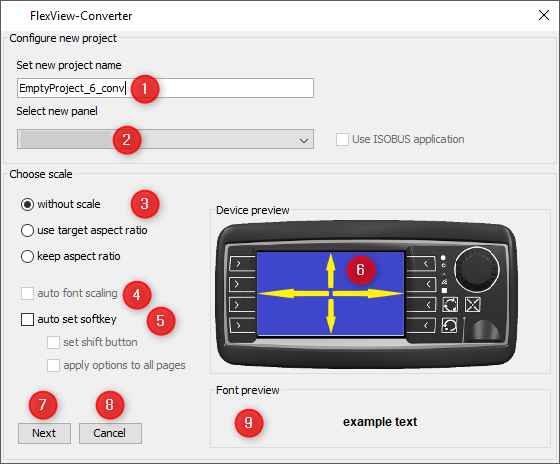
First, you can set the name of the converted project (1).
Next, you can choose the new device type that you want to convert to (2).
Below that, you have three options to scale the page contents (3):
•without scale (keep the object sizes as they are) -> only available for some device types, since content for a larger device can't be displayed on a smaller device without scaling them
•use target aspect ratio (scale objects to the full screen, independent of the existing aspect ratio -> This will make content full screen, but it might look less good because the aspect ratio changes
•keep aspect ratio (scale objects to the full screen, but keeping the existing aspect ratio -> This will make content full screen, but with a bar on the bottom or side. The aspect ratio will be kept.
You can see an example preview of how the page content will be scaled in the Device preview (6).
Next, there is the option for the auto scaling of texts. This is not available if "without scale" has been selected above. A preview of how test will be scaled can be seen in the lower right (9).
Below that are options for the handling of the soft keys (5):
•auto set soft key (soft keys will be spread to the new layout automatically) -> Please note that when converting from a device with more soft keys to a device with less soft keys, several soft key levels will be created
•set shift button (if several soft key levels are created, shift up and shift down buttons will be added to be able to shift between the soft key levels)
•apply options to all pages (the Next button (7) will change to Convert, and the project can be converted with one click, skipping Step 2.
Pressing Cancel (8) cancels the conversion process and all settings are lost.
Step 2 - Soft Keys
In the second step, softkeys can be assigned to the keys of the new device of the conversion process. The new device type with its soft keys is displayed in the center of the dialog. The soft keys of the old device are displayed to the right and left (if available) of the new device type. Soft keys can be dragged and dropped to the new device soft keys or back out to change the order. By clicking the button Next Page, the next page in the project with configured soft keys will be shown. All pages need to be set to finish the conversion process. Press Convert to go to the final step. By clicking the Back button you can go back to previous pages. When the first page is shown, clicking Back will go to the first step of the conversion. By doing that, all existing soft key mappings will be lost! Also, all soft keys that were not mapped will be lost as well. Pressing Cancel cancels the conversion process and all settings are lost.
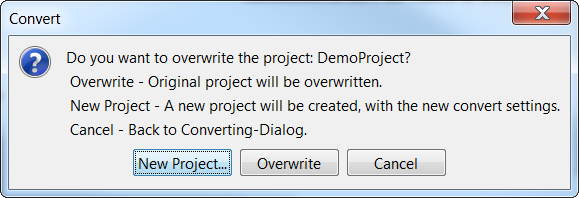
Step 3 - Finish
In the final step, you can choose if you want to overwrite the existing project or create a new one. Pressing Cancel at this stage brings up the previous conversion step, keeping all settings.